![]()
V1CE LTD
Companies No: 12581711
VAT No: GB366053595
hello@v1ce.co.uk

Contact Card
Profile
URL
Event
QR Code
Offline QR Code
Leads Form
Email
DeepLink
WhatsApp
SMS
Call
Linktree
E Menu
This is your guide all about actions. In short, actions are what you can transmit via your v1ce card to your recipients. Take a moment to watch the overview video and guide below.
Edit your actions by selecting the pencil icon:

To assign an action to your card, be sure to click it. Assigned actions are identified by the star icon.


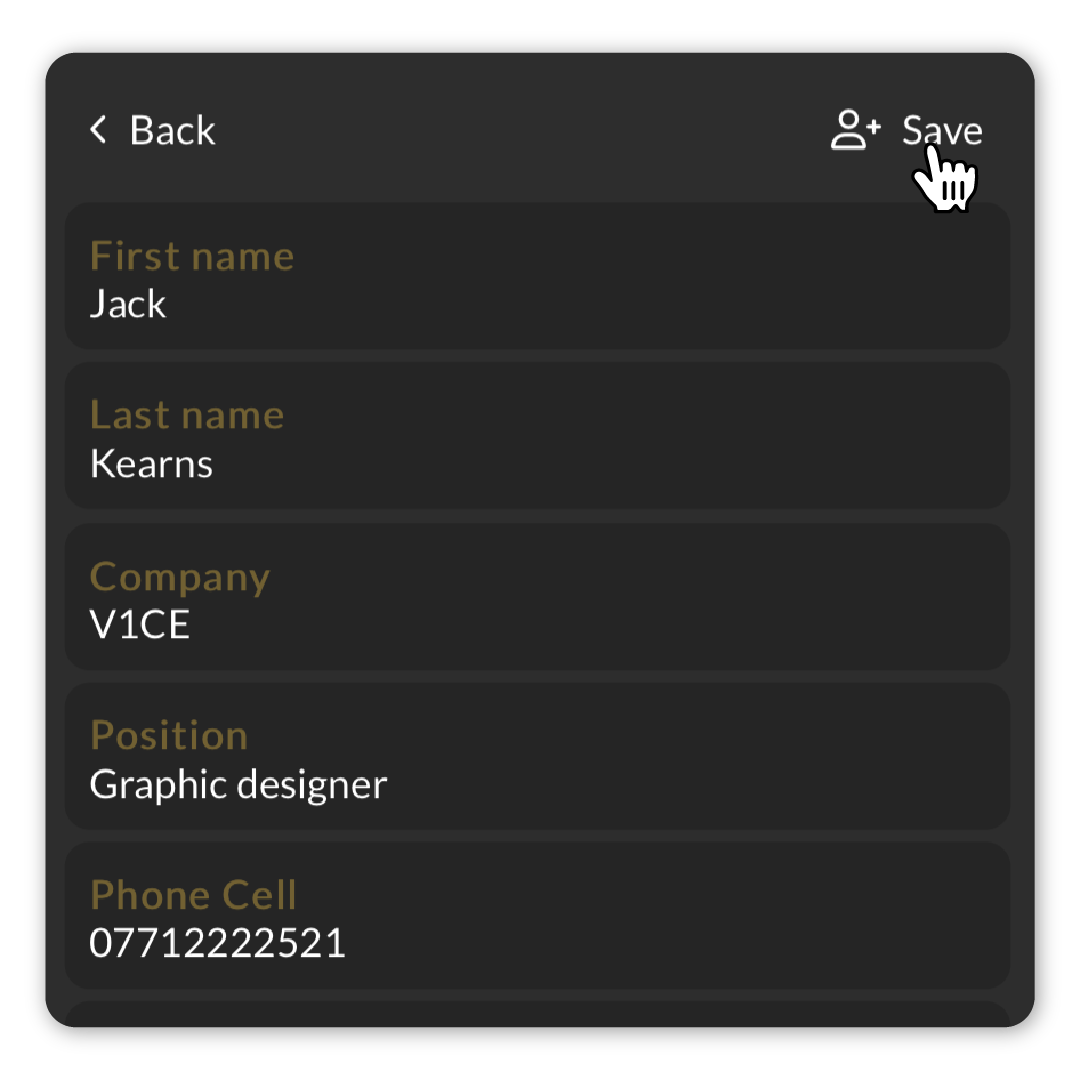
To share your contact information via your V1CE card, you’ll need to assign the contact card action. To do this, select your desired V1CE card and go to:
Change action > New action > Contact card > Create action.
Then, enter your contact information! Upload your contact picture (must be 500×500 pixels) and enter your name, date of birth, phone number and more.
To assign the action to your card, be sure to click it. Assigned actions are identified by the star icon.

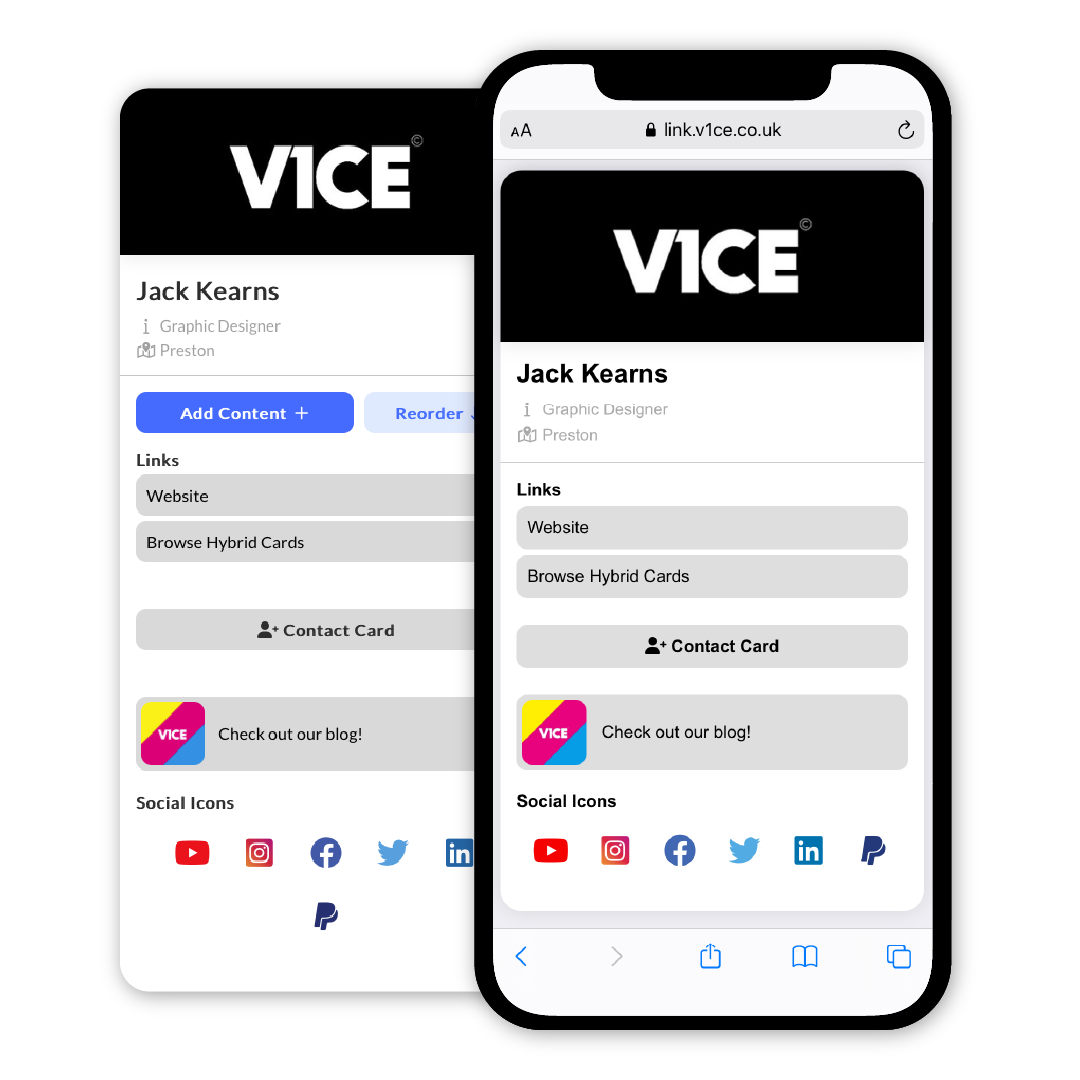
Your V1CE card allows you to share information with recipients by tapping it on to their phone, or if they have an older device, by scanning the QR Code on the reverse of your card.
You can customise what information is shared with the recipient by changing the action assigned to your card. To assign an action to your card, select ‘change action’, ‘new action’, and then select from the list of available actions.
Profiles allow you to share who you are and what you do all at once, including your contact information, social media profiles, links and more. Select your desired V1CE card and go to:
Change action > New action > Profile > Create action.
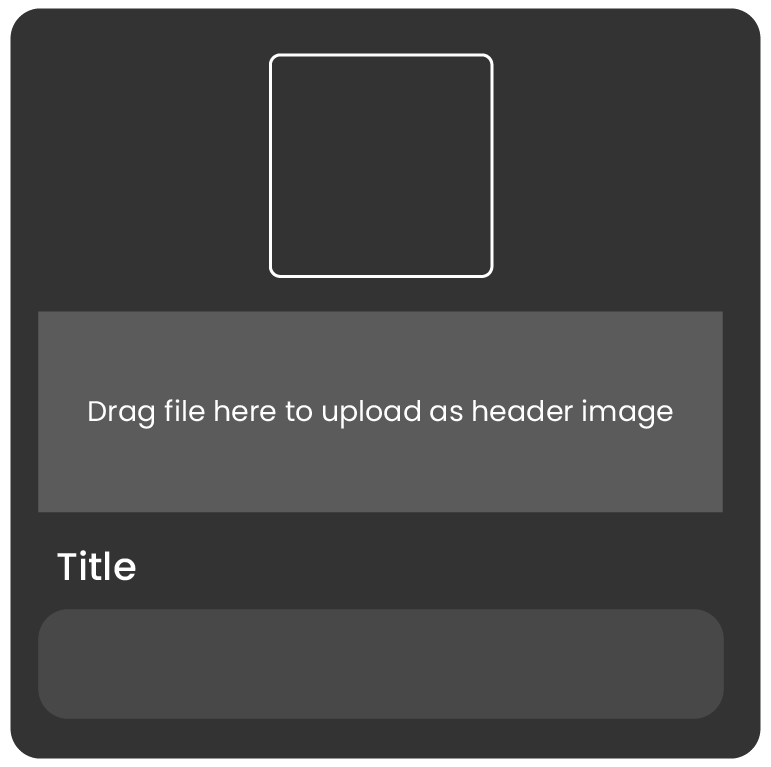
Click My Profile to customise your name, title, location and contact picture.
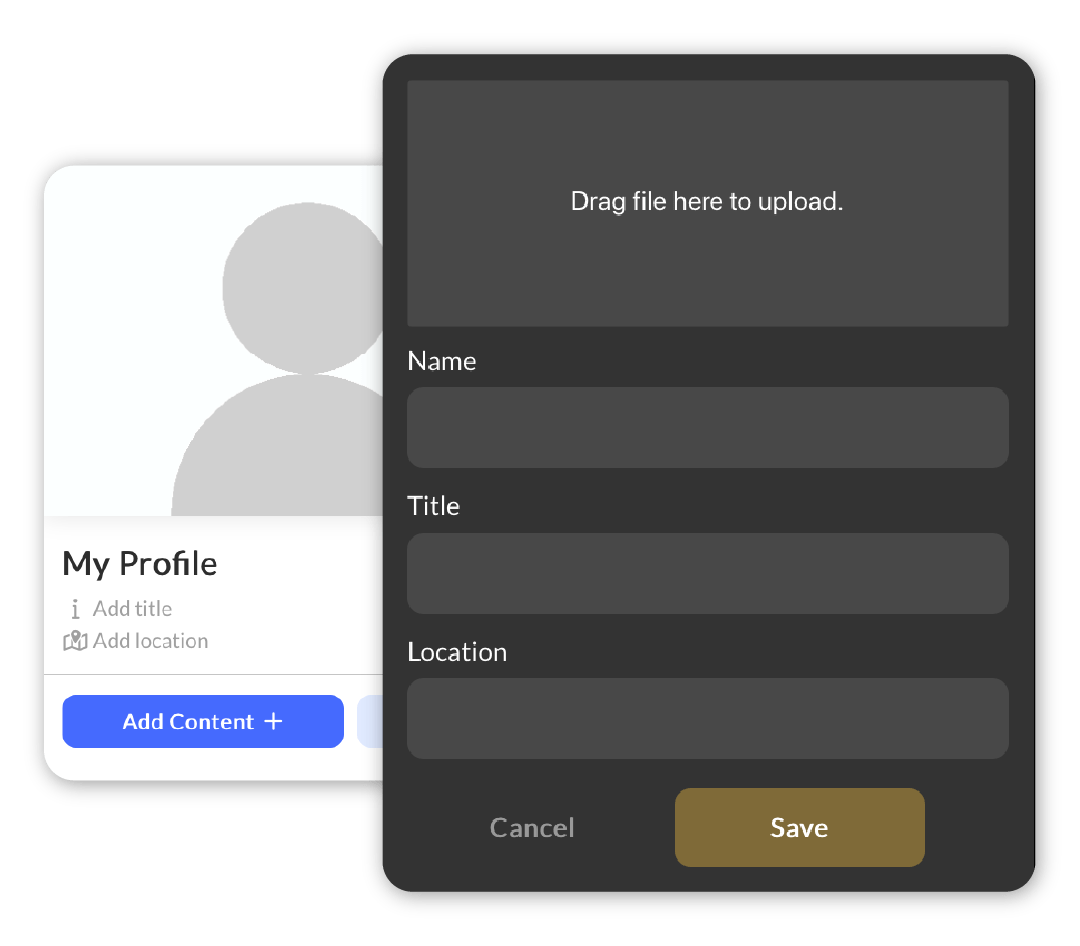
To begin building your profile, go to Add Content. Here is a list of all the content you can add to your V1CE profile.
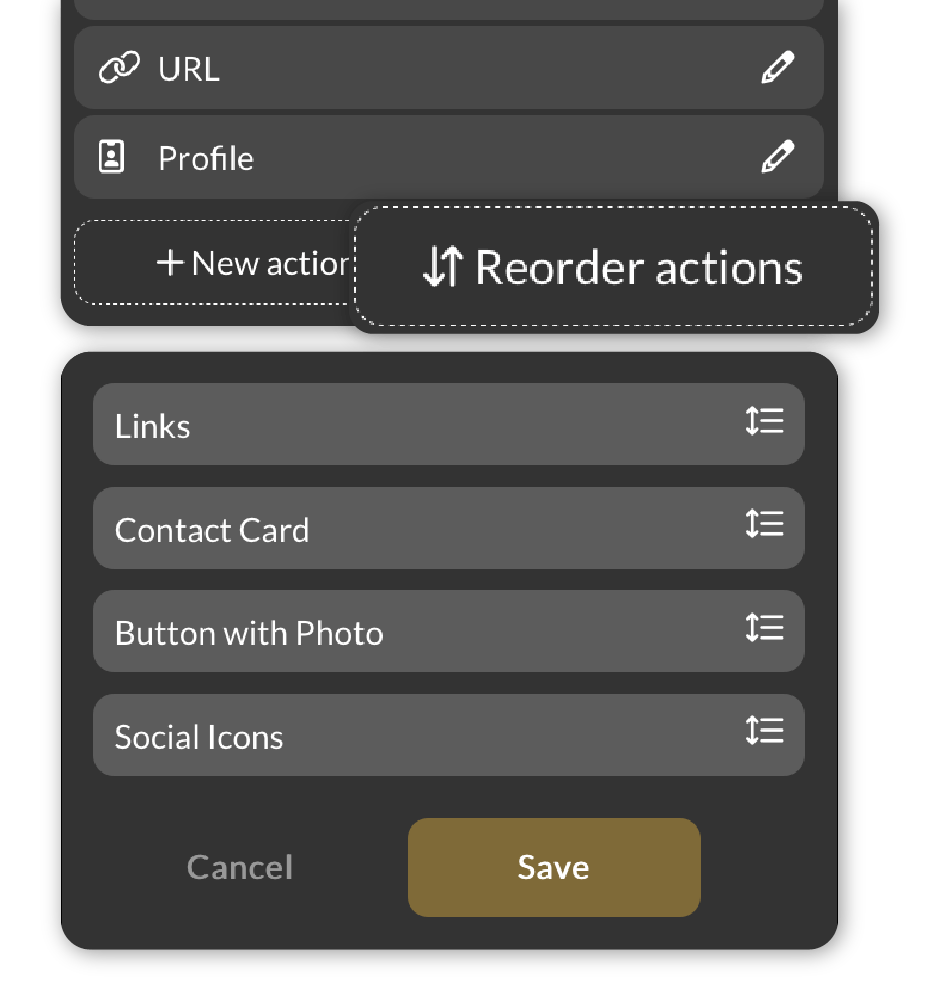
You can organise the elements in your profile using Reorder.
To assign the action to your card, be sure to click it. Assigned actions are identified by the star icon.
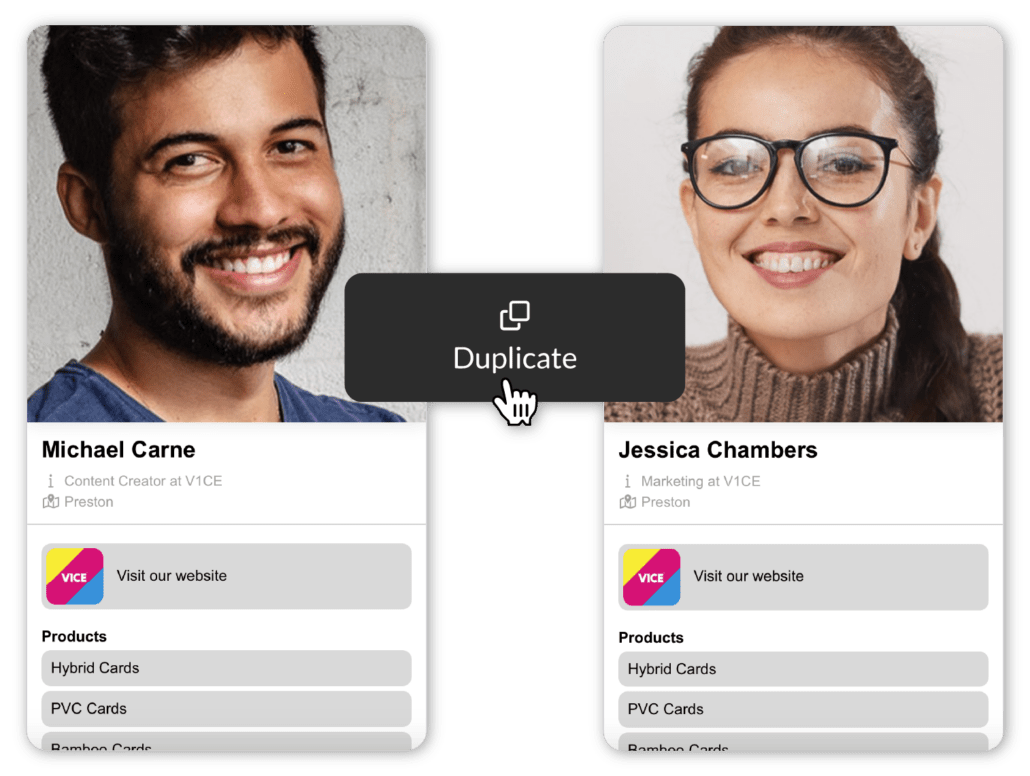
Creating profiles for multiple employees?
You can duplicate actions by clicking ‘duplicate’.
Once duplicated, simply enter your employee’s name and picture. The rest of the information will remain the same across both profiles.

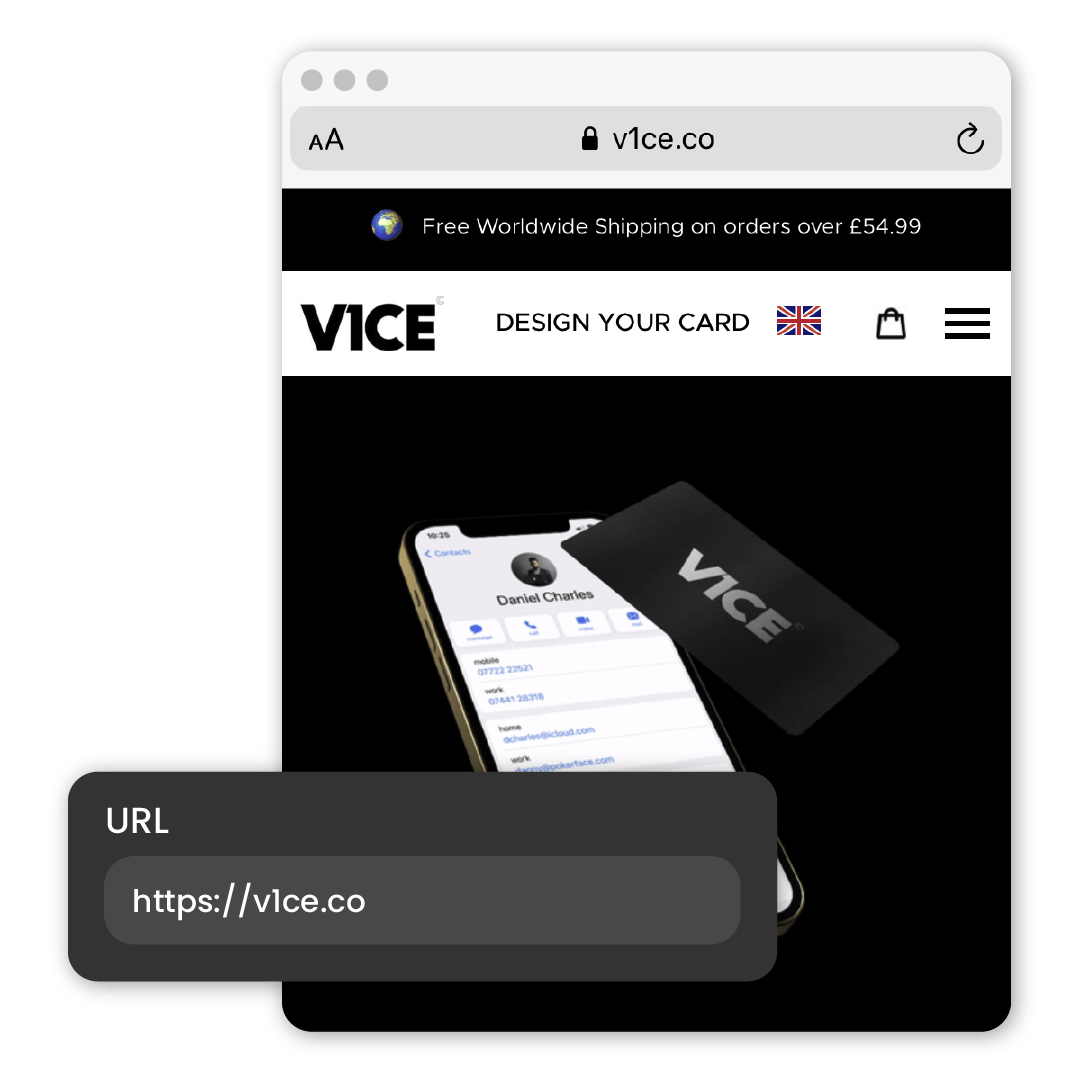
Share a link to a website with the URL action. Select your desired card and go to:
Change action > New action > URL > Create action.
Enter your desired URL. This will be shared with the recipient of your card.
To assign the action to your card, be sure to click it. Assigned actions are identified by the star icon.

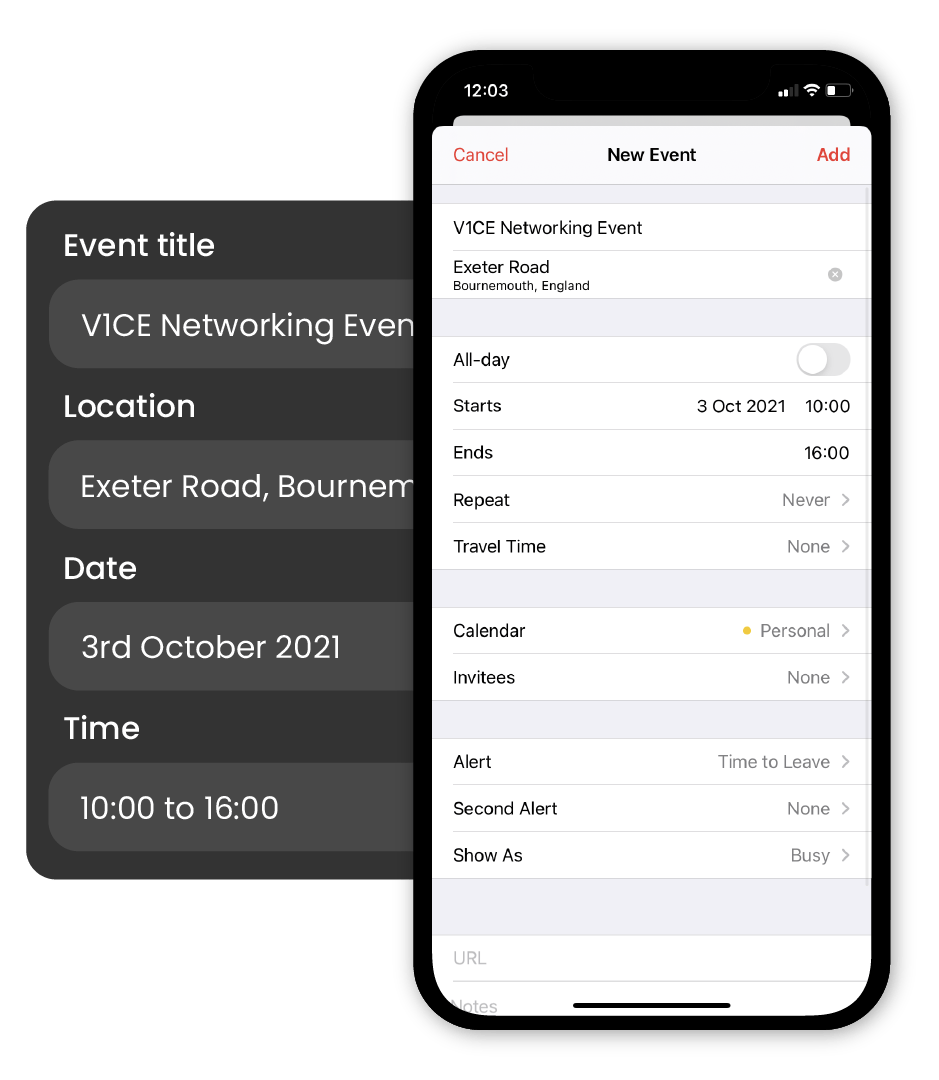
Share an event to your recipient’s calendar. Select your desired card and go to:
Change action > New action > Event > Create action.
Enter details about your event, such as it’s title, date and time, location or URL.
To assign the action to your card, be sure to click it. Assigned actions are identified by the star icon.

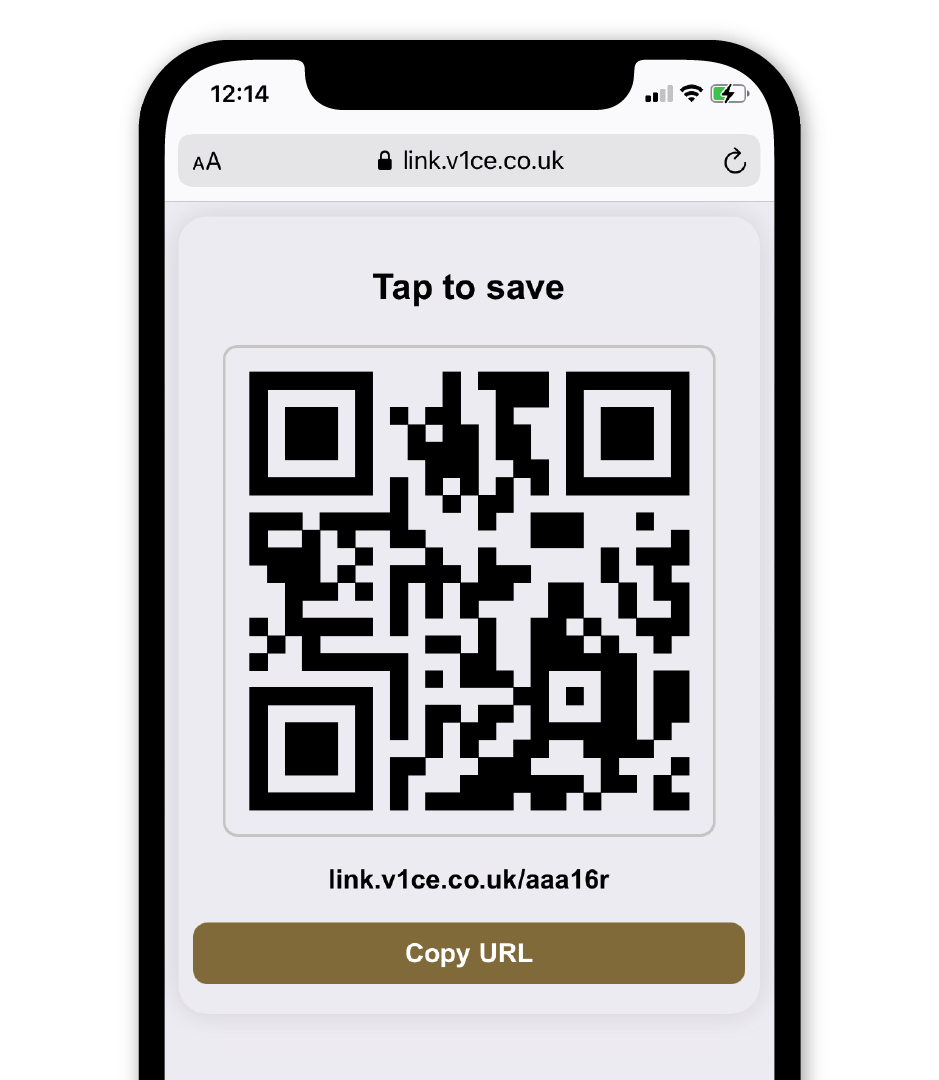
Share a QR code with your recipient, who can then save it. Select your desired card and go to:
Change action > New action > QR Code > Create action.
To assign the action to your card, be sure to click it. Assigned actions are identified by the star icon.

Offline QR Codes allow you to share your contact cards, profiles, events and more without the need for an internet connection.
To generate your Offline QR Code, open the drop-down menu and select Generate Offline QR Code.

Select your desired action from the drop-down menu and click Generate.
Please note that not all actions can be saved as an Offline QR Code due to their reliance on an internet connection. Offline QR Codes can be generated with the following actions:
All other actions require an internet connection and therefore cannot be reproduced in an Offline QR Code.
Once your Offline QR Code has been generated, you can either save it as an image or add it to your Apple Wallet.
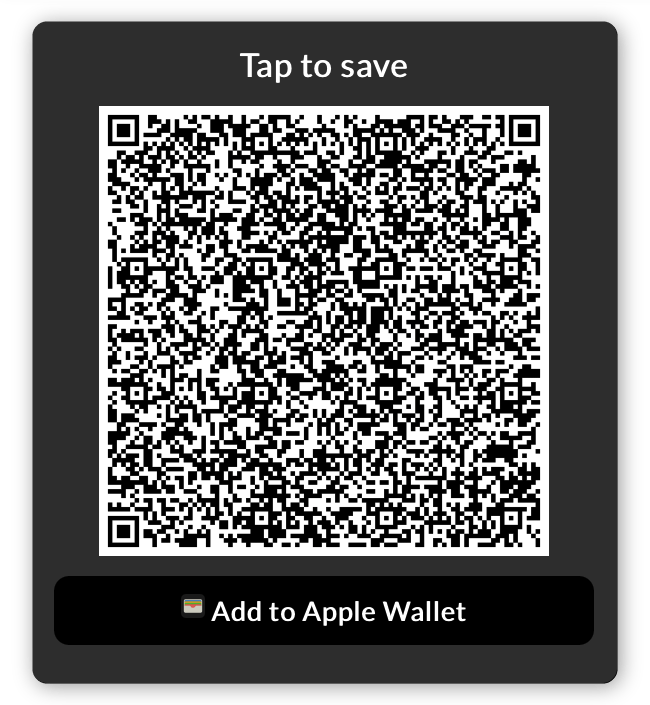
Android wallet support will be arriving in a later update.
Please note that if any changes are made to the assigned action, your Offline QR code must be regenerated and saved again.

Collect the contact details of your recipients. Select your desired card and go to:
Change action > New action > Leads Form > Create action.
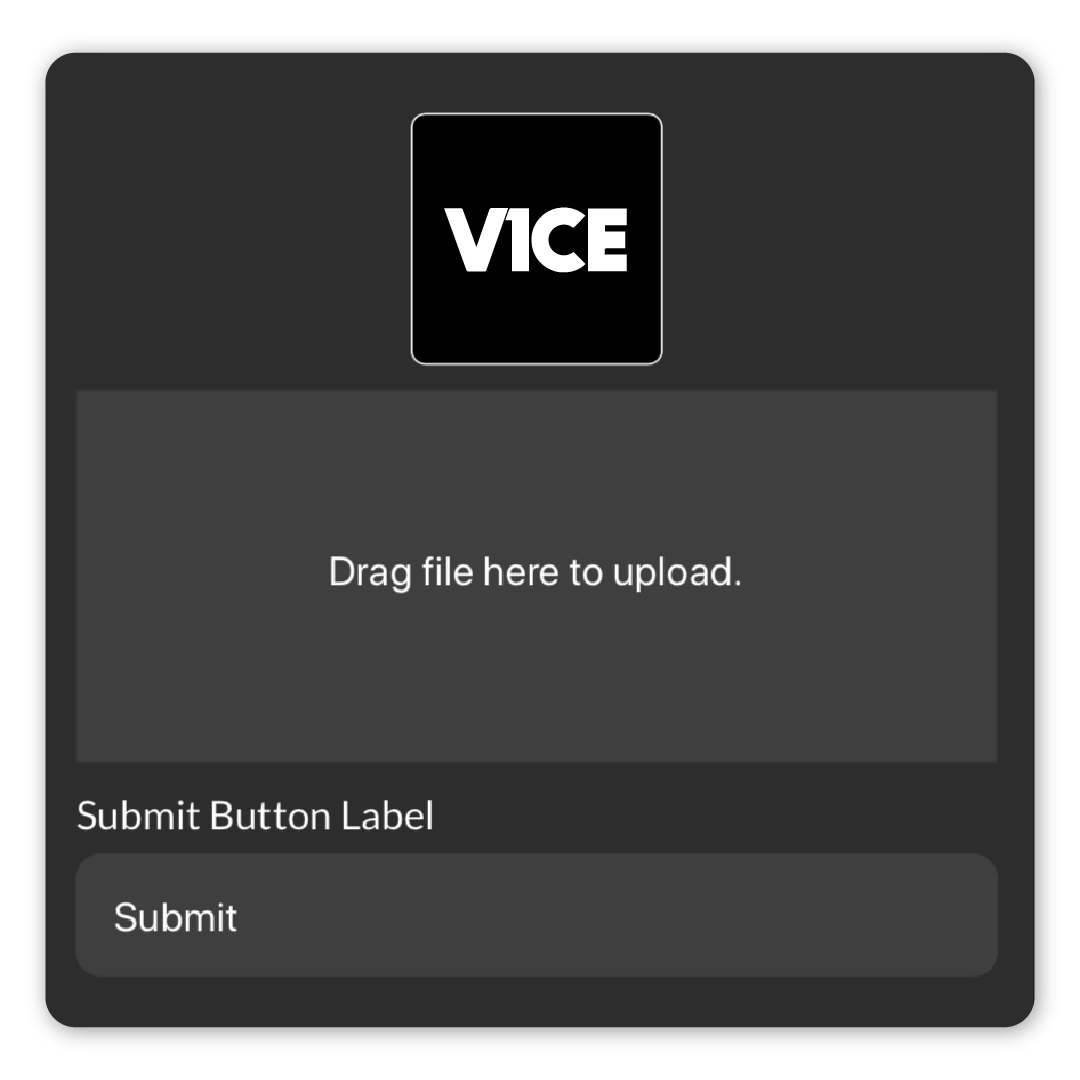
You can upload a profile picture and customise the Submit button’s label.
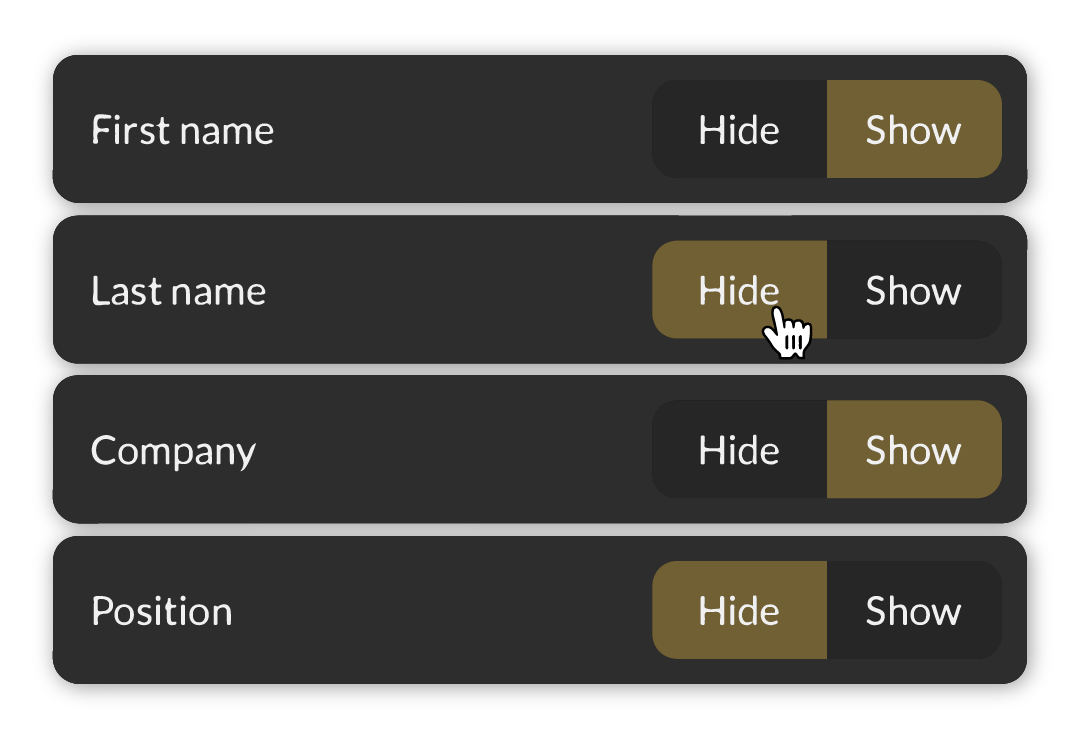
Toggle which details you want to capture with your Leads Form by clicking ‘Show’ or ‘Hide’ for each respective field.
View your captured leads here. You can click ‘Export’ to create a .csv file of all their information.
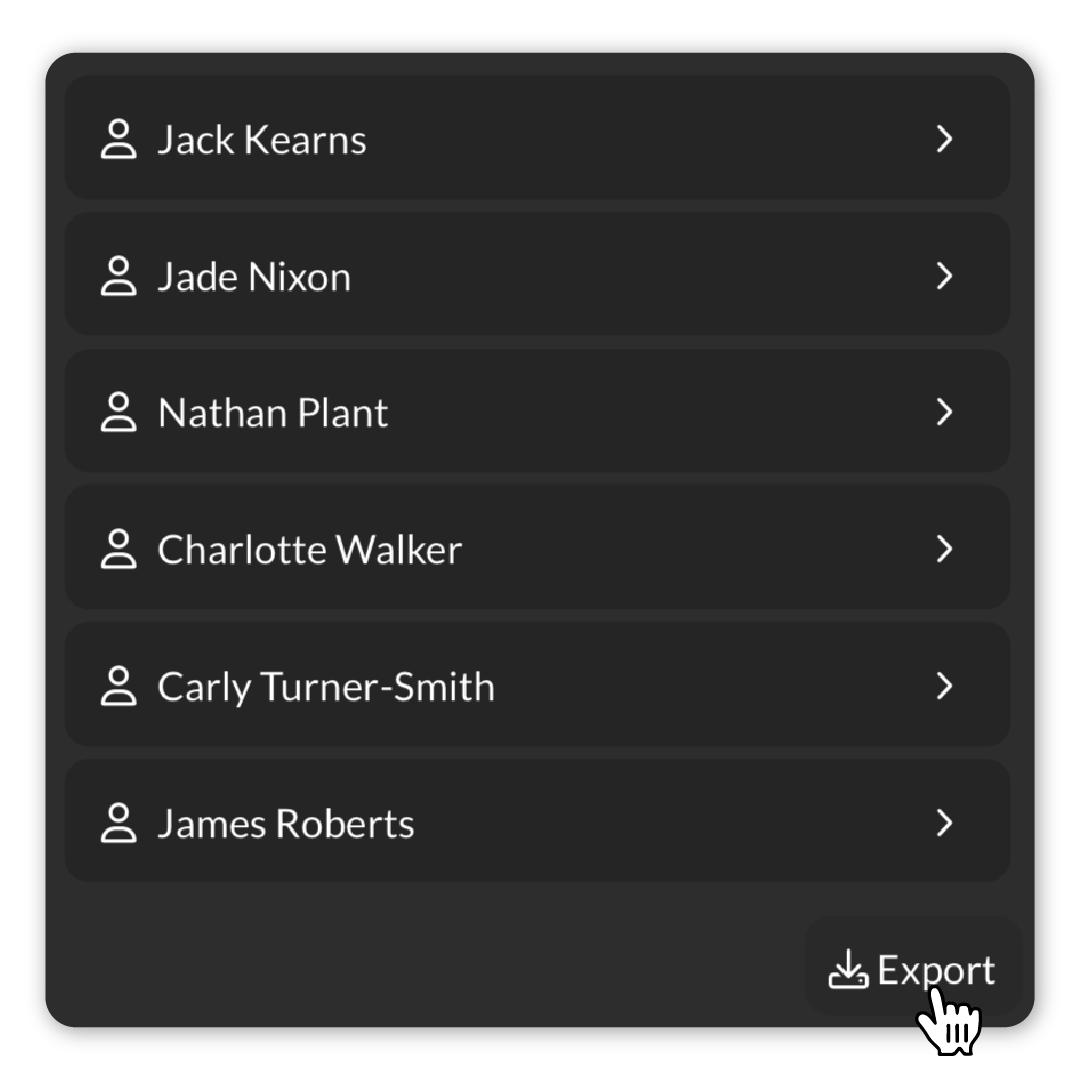
Select a lead to view their gathered information. You can save the lead as a contact by clicking save.
To assign the action to your card, be sure to click it. Assigned actions are identified by the star icon.

Share an email with your recipient so they can connect with you later. Select your desired card and go to:
Change action > New action > Email > Create action.
Enter your email address as well as the subject and content of the email.
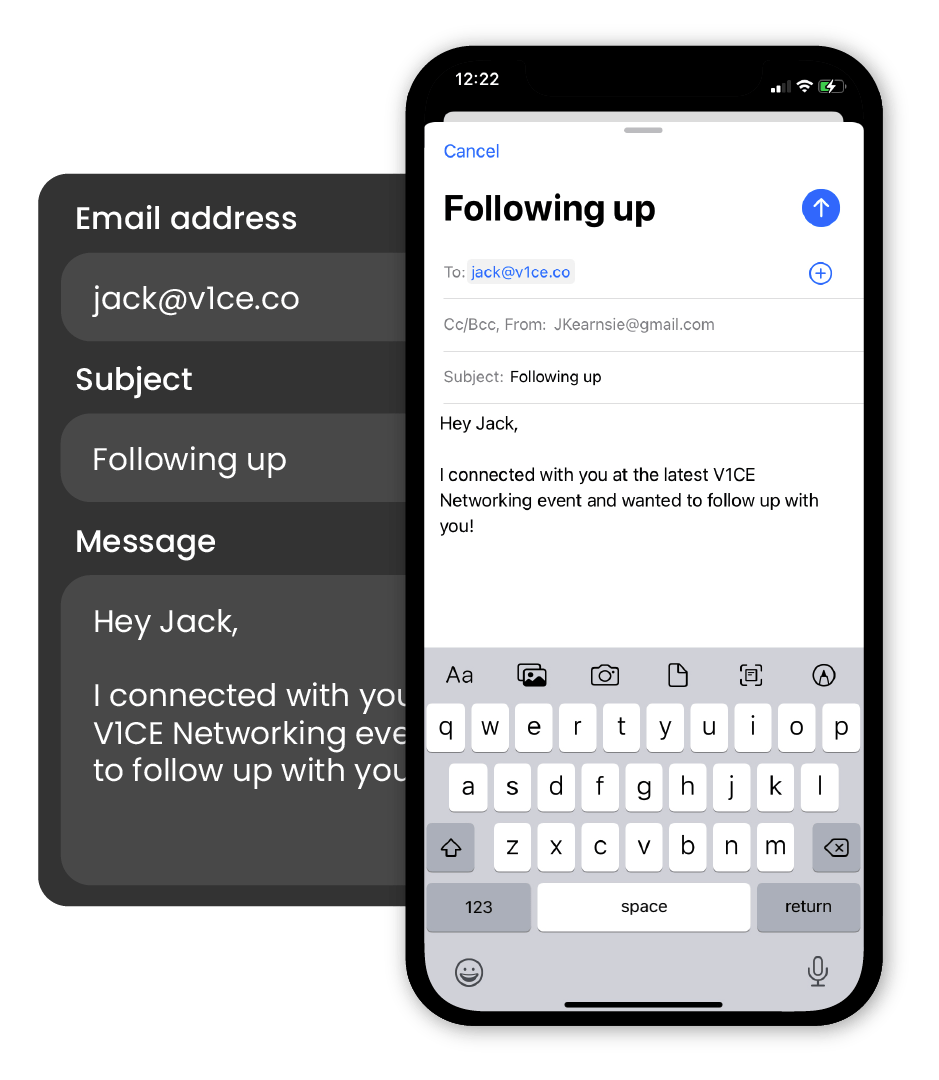
To assign the action to your card, be sure to click it. Assigned actions are identified by the star icon.

Share an app with a recipient, which will open to a specific page once your card has been scanned. Select your desired card and go to:
Change action > New action > Deep link > Create action.
Select from the list of supported apps and enter your desired URL.
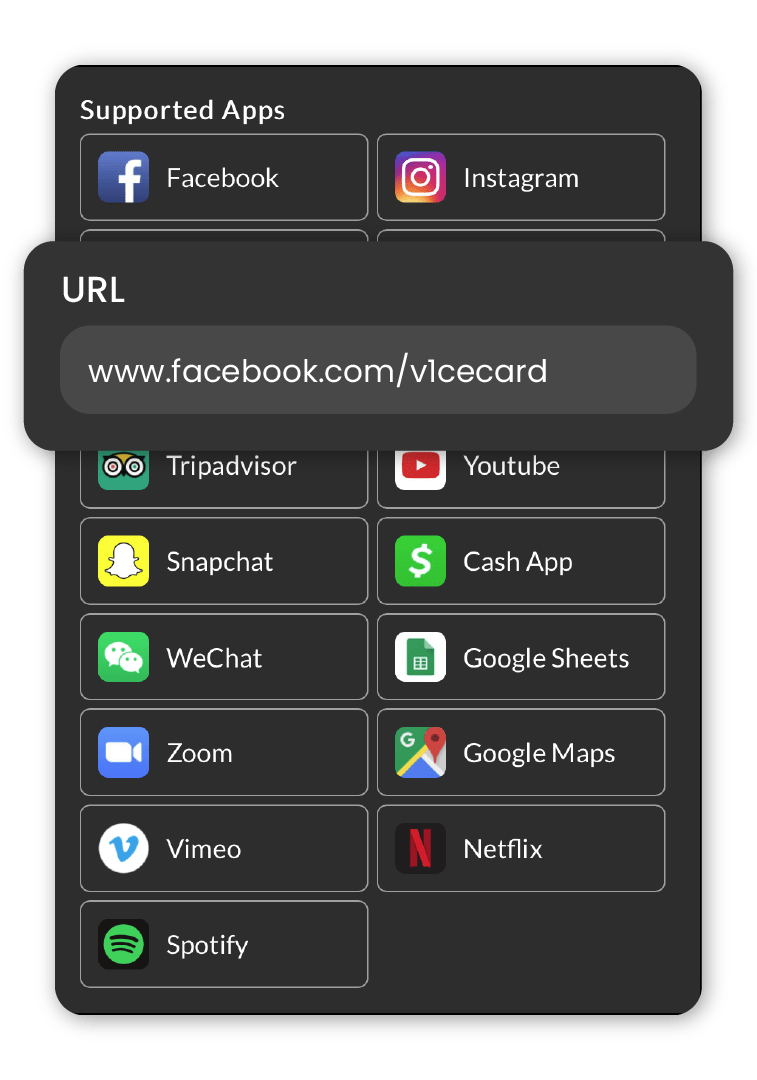
To assign the action to your card, be sure to click it. Assigned actions are identified by the star icon.

Connect with recipients through WhatsApp with ease. Select your desired card and go to:
Change action > New action > WhatsApp > Create action.
Enter your phone number and desired text.
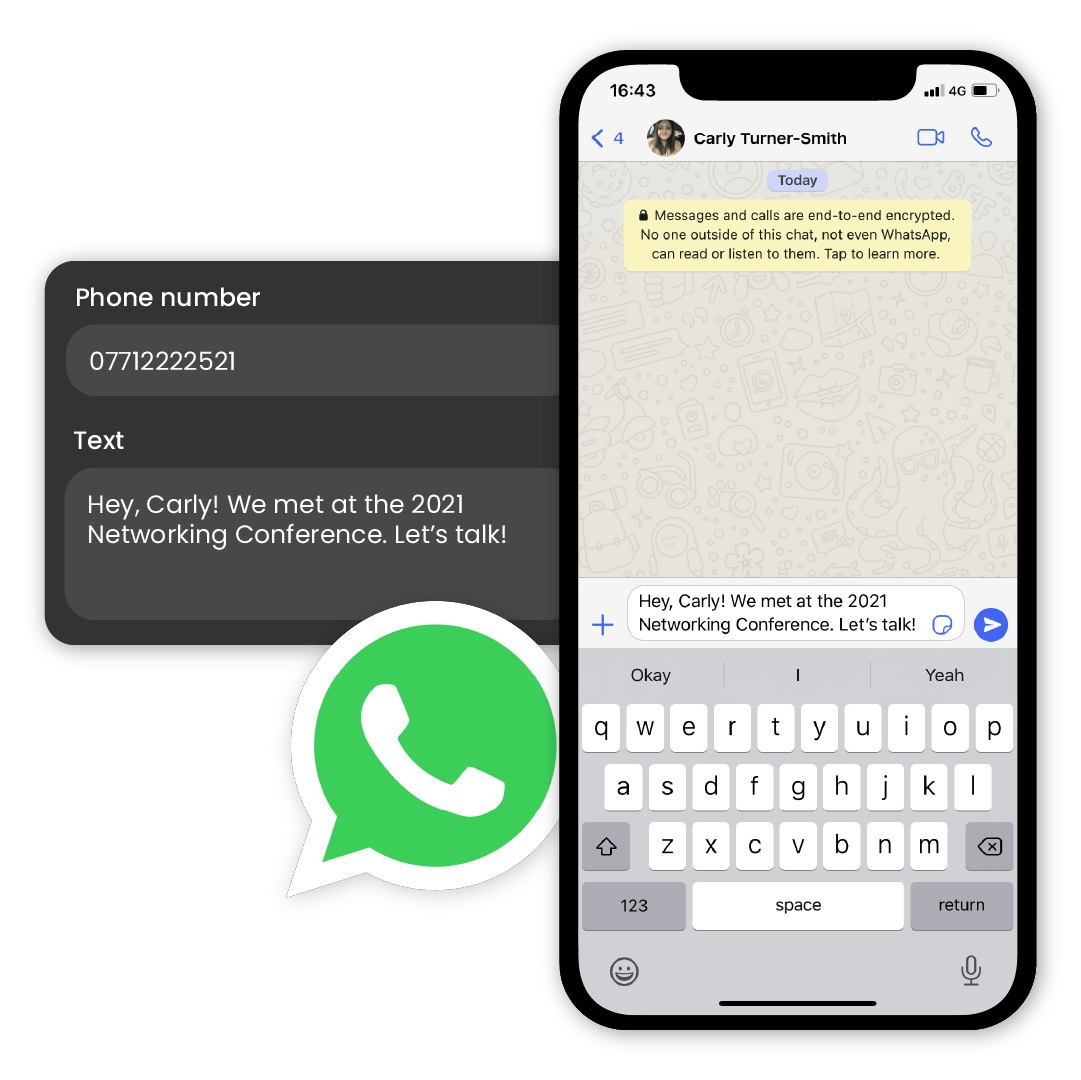
To assign the action to your card, be sure to click it. Assigned actions are identified by the star icon.

Share your phone number with recipients. Select your desired card and go to:
Change action > New action > SMS > Create action.
Enter your phone number and desired text.

To assign the action to your card, be sure to click it. Assigned actions are identified by the star icon.

Direct recipients to a phone number. Select your desired card and go to:
Change action > New action > Call > Create action.
Enter your phone number.
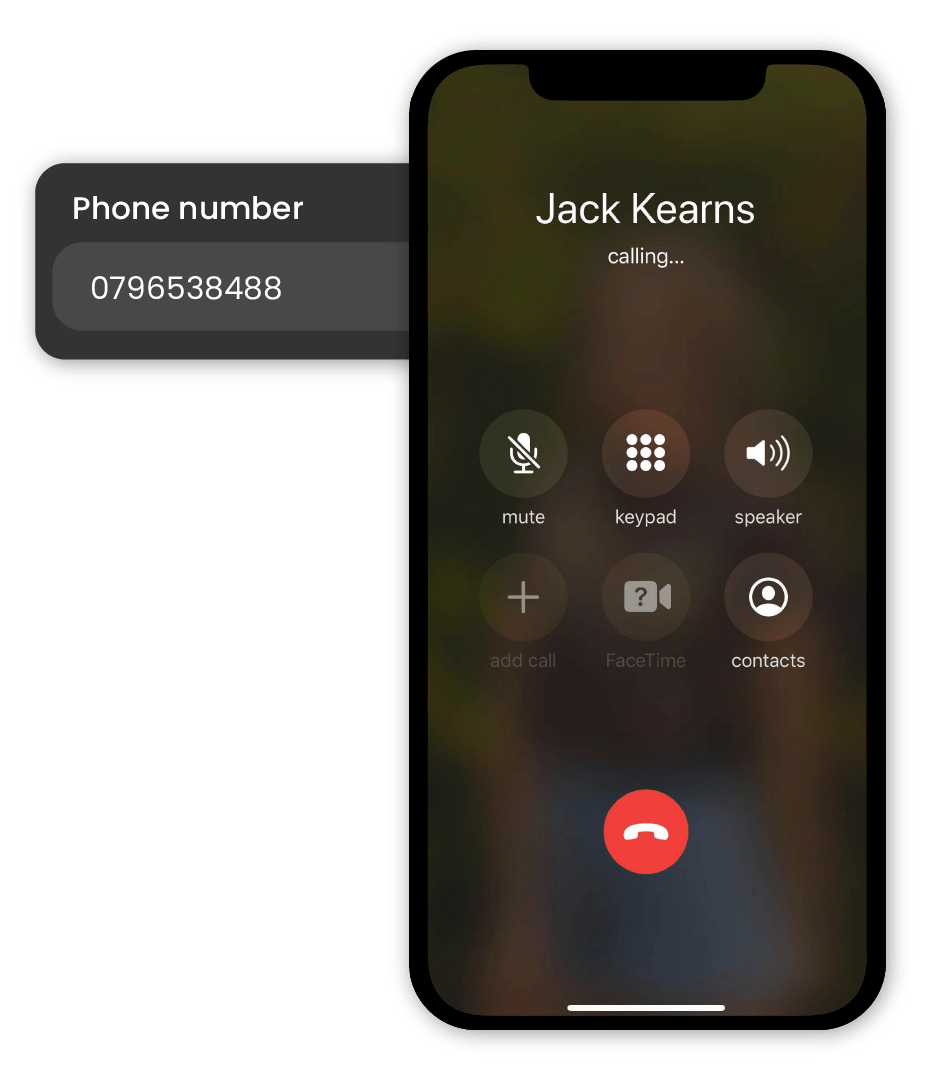
To assign the action to your card, be sure to click it. Assigned actions are identified by the star icon.

Share multiple links at once. Select your desired card and go to:
Change action > New action > Linktree > Create action.
You can assign both links and actions to your linktree.
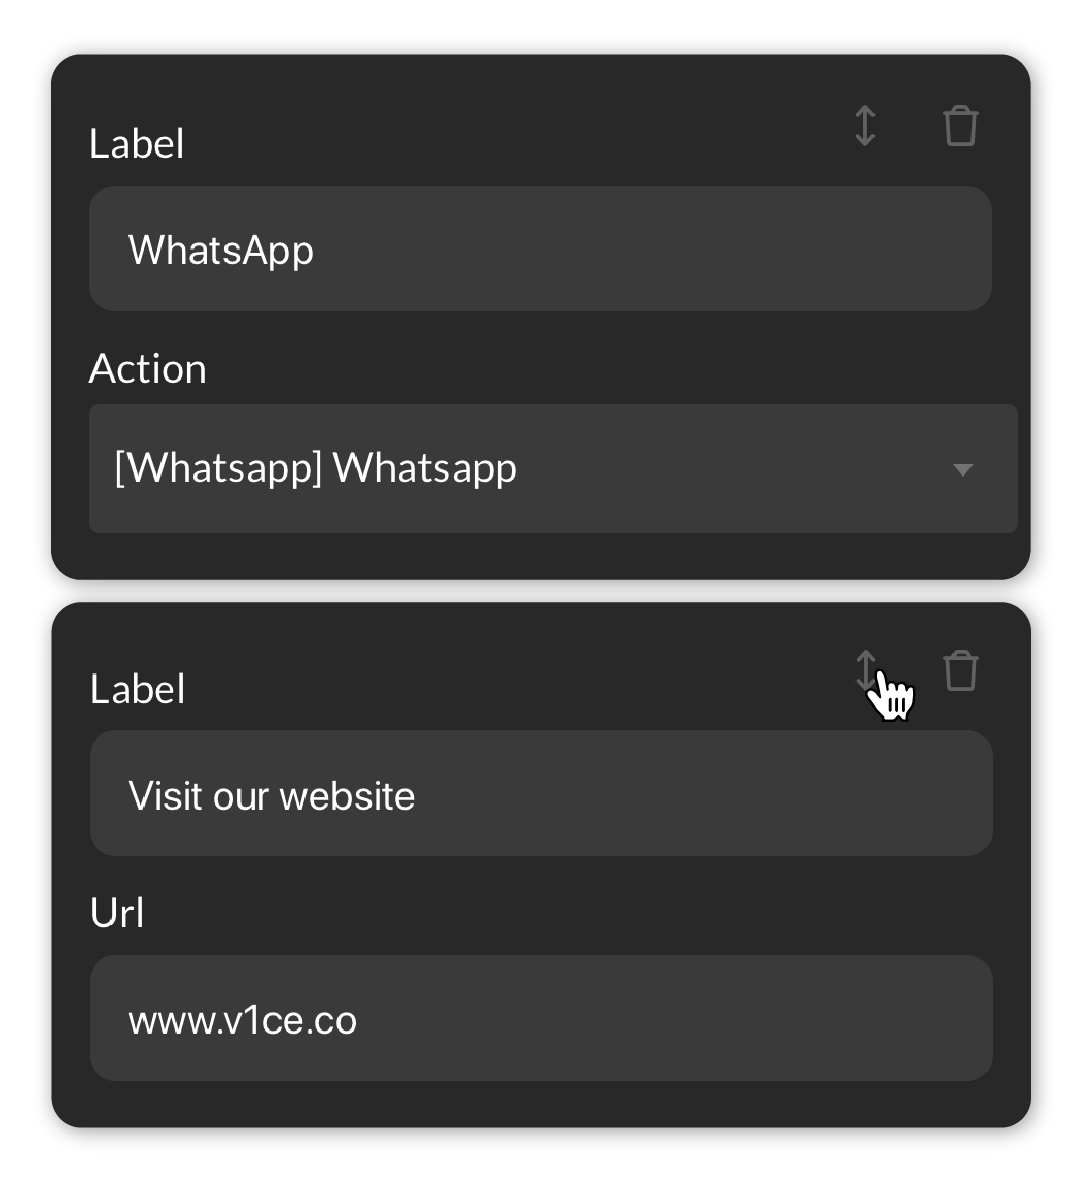
Assign your first link by selecting Add Link, then entering a label for the link as well as it’s URL.
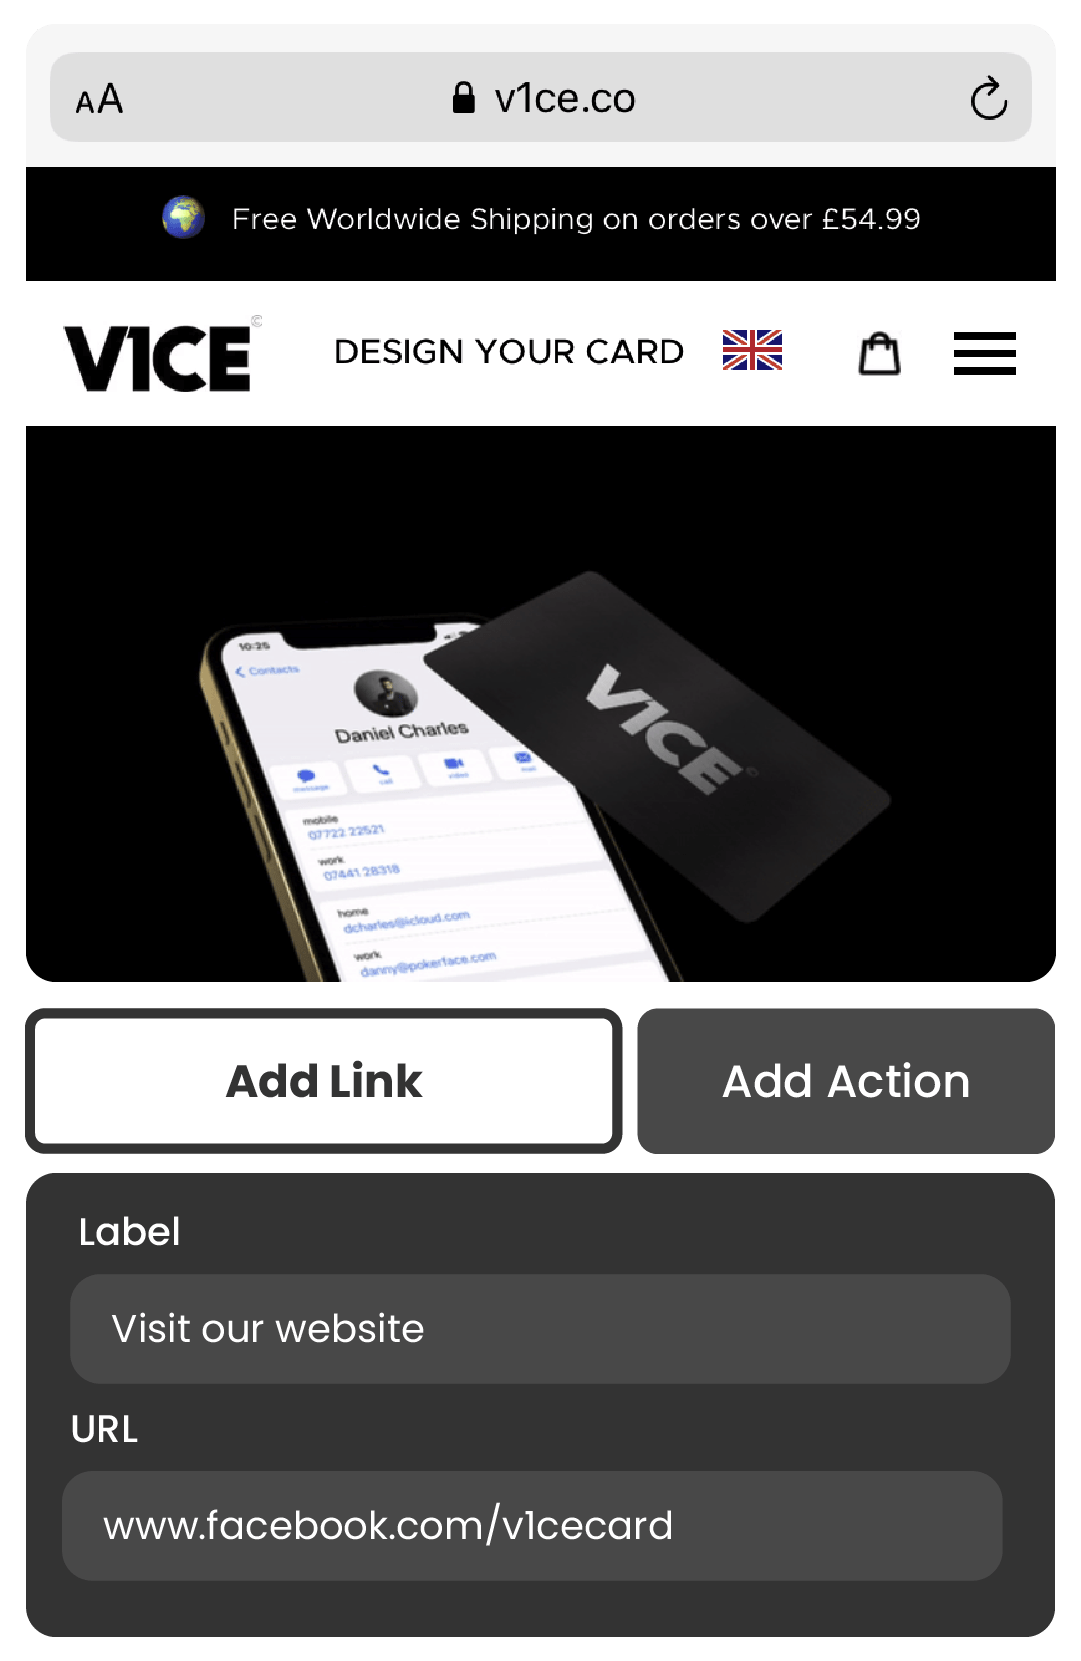
Assign an action by selecting Add Action, then enter a label for it. Choose Select Action to assign an action you have already created from the drop-down menu.

You can reorder sections of your linktree by assigning it to your card by selecting it. Assigned actions are identified by the star icon. You can then click and drag elements of your linktree to reorder them.

Share a virtual menu with your customers. Select your desired card and go to:
Change action > New action > eMenu > Create action.
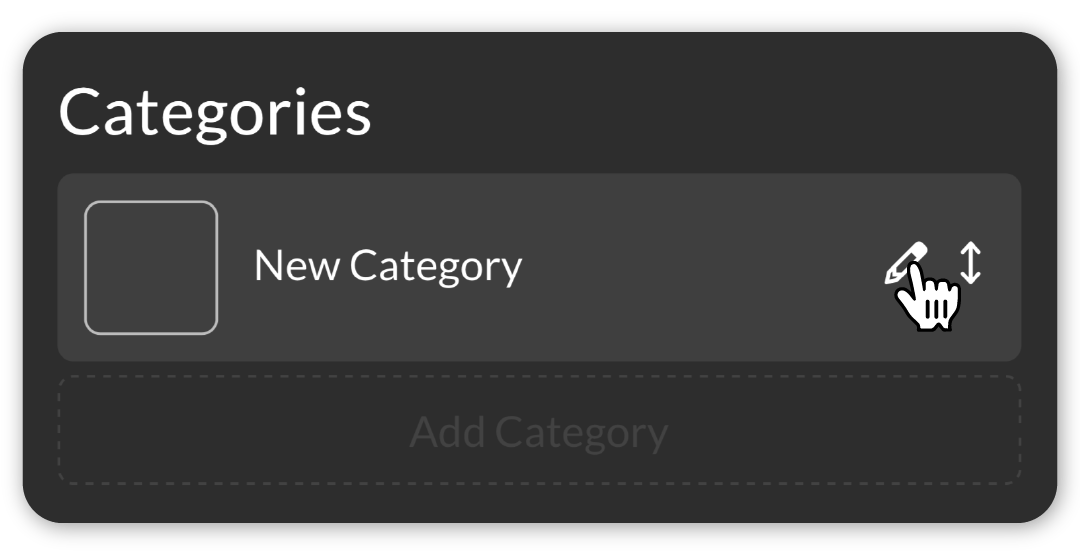
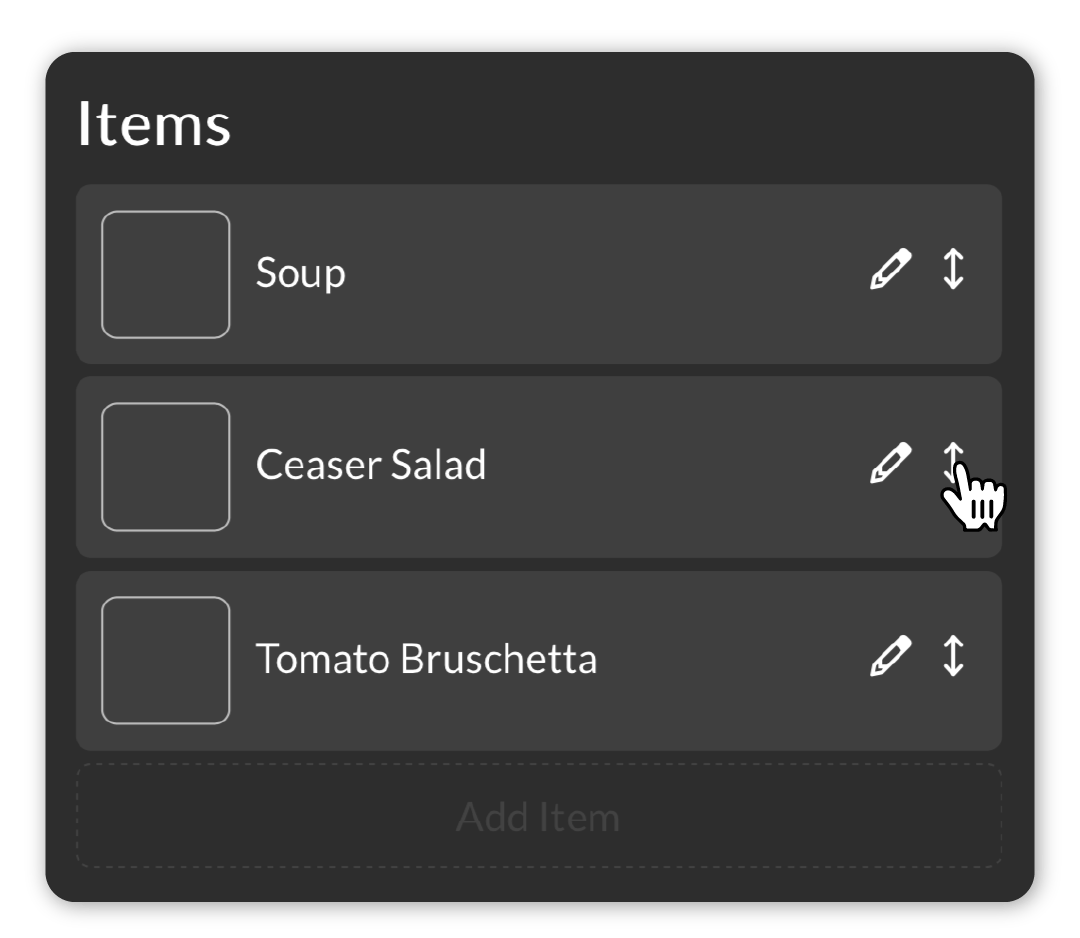
Click ‘Add Category’ to create your first category and customise it by selecting the pencil icon.
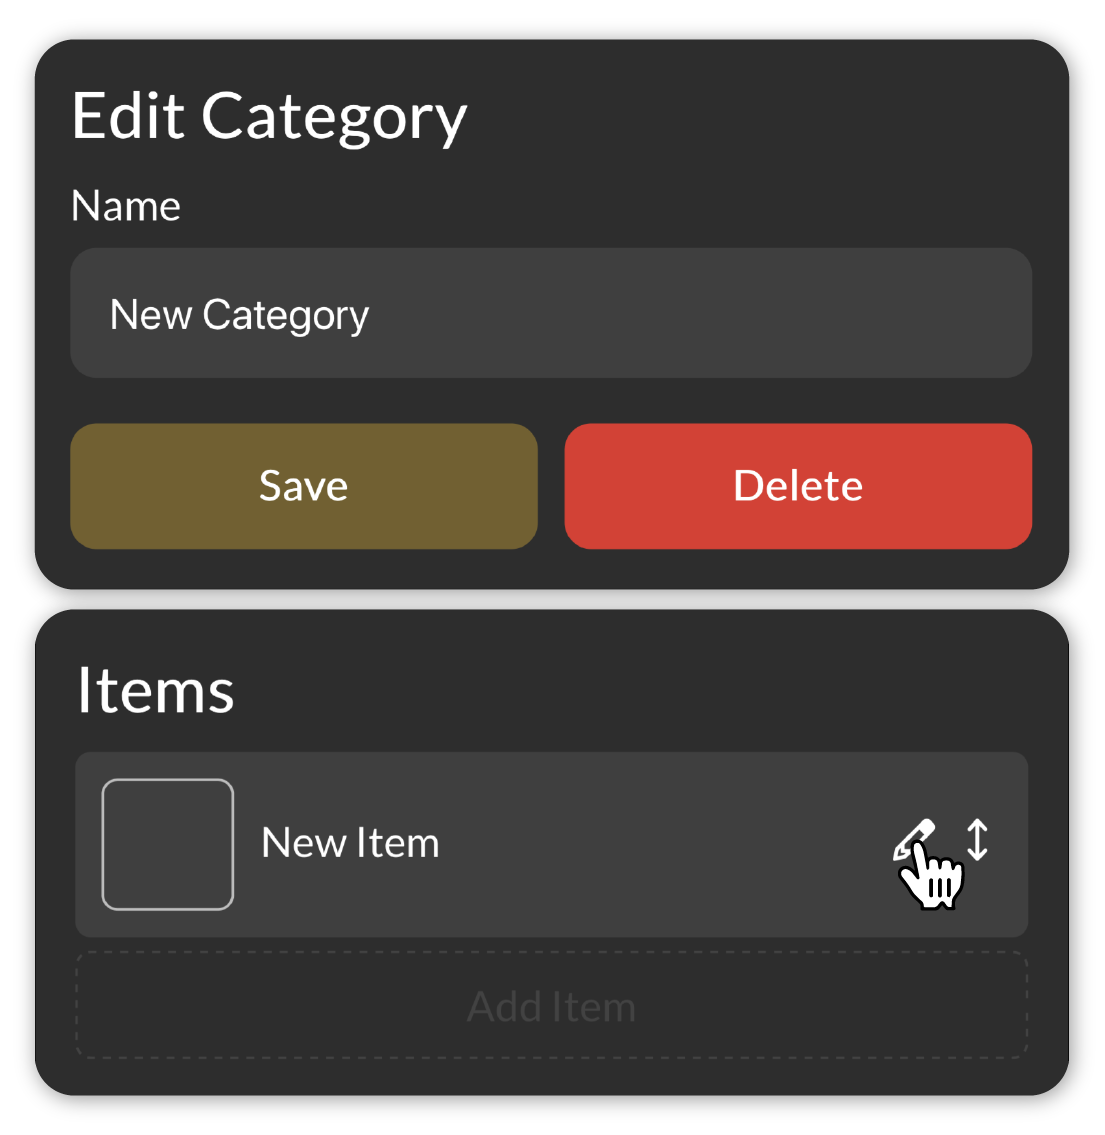
Name your category and add your first menu time by selecting ‘Add Item’, then select the pencil icon to customise it.
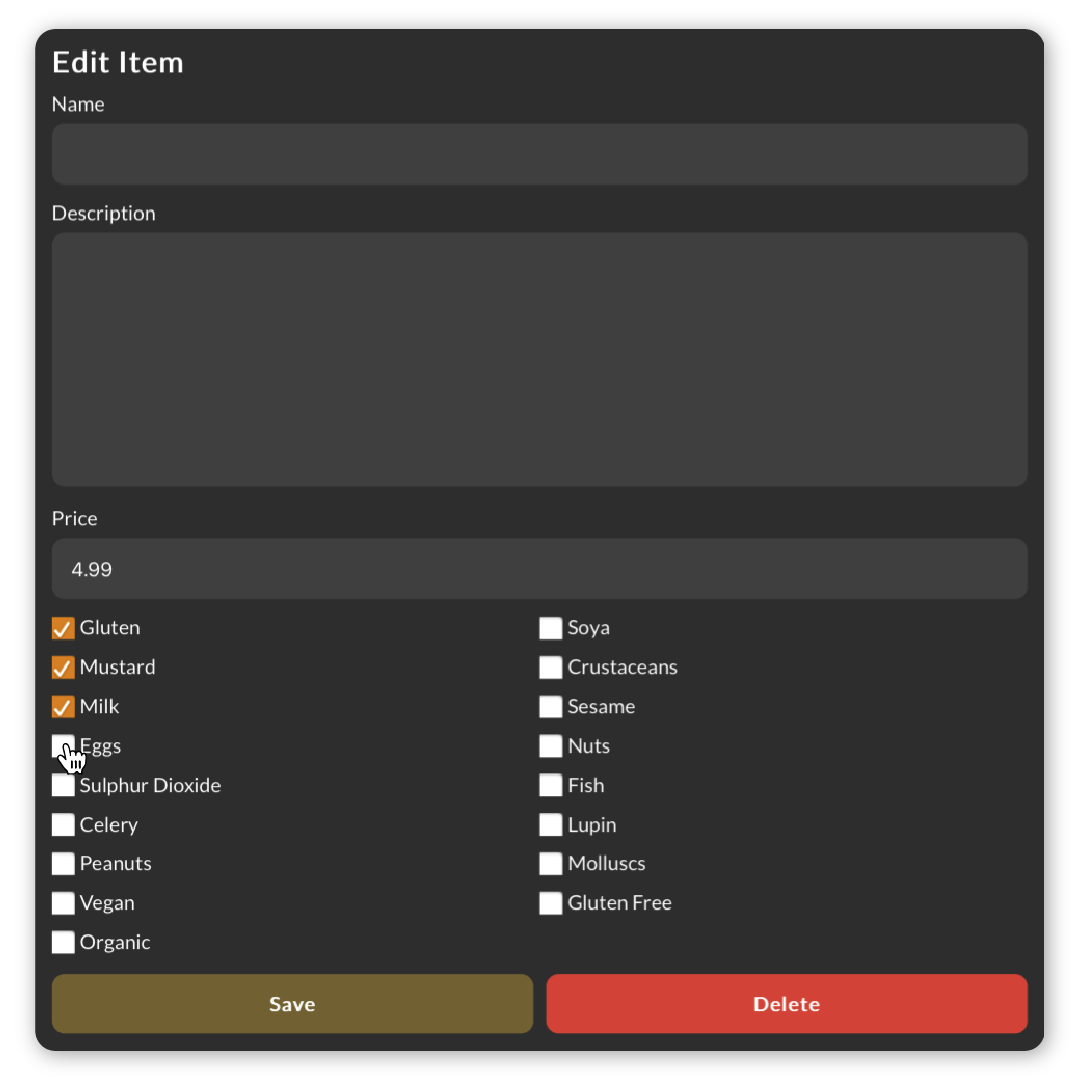
Here, you can customise your item’s name, description and price. You can also select the relevant dietary information.
Re-order your menu items and categories by clicking and dragging them.
To assign the action to your card, be sure to click it. Assigned actions are identified by the star icon.
![]()
V1CE LTD
Companies No: 12581711
VAT No: GB366053595
hello@v1ce.co.uk

 Getting Started with V1CE